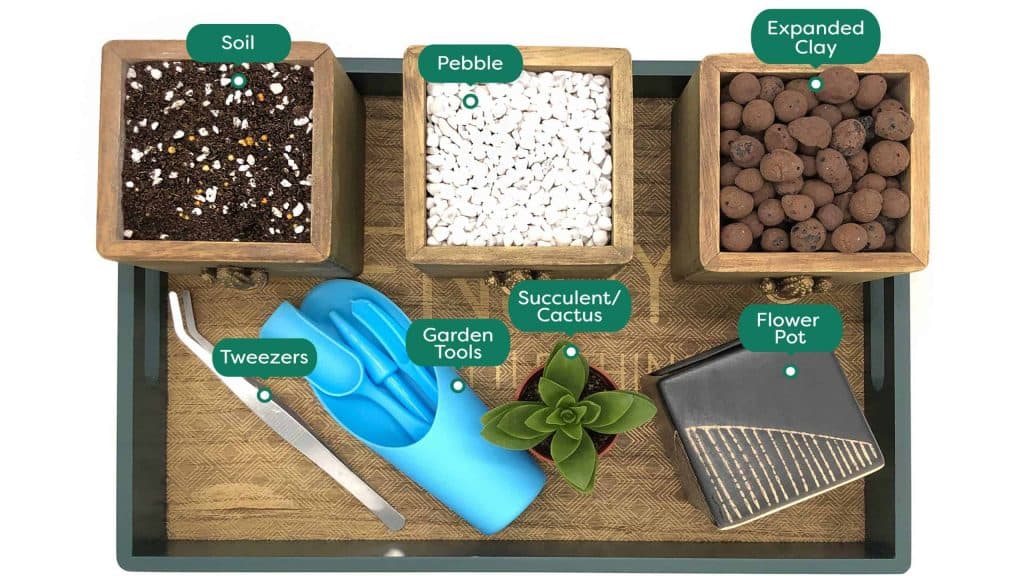
Nurseries almost always plant their succulents in soil that’s way too rich and retains too much water. The more of this nursery soil you’re able to get rid of, the healthier your succulent’s roots will be. Here is a step-by-step photo tutorial for planting newly purchased succulents that will help give you a good foundation for your succulent garden.

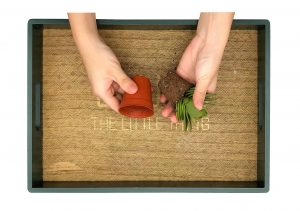
Step 1: Squeeze
Squeeze the sides of your succulent’s plastic pot to loosen its soil.
Step 2: Remove pot
Gently remove the plant from the plastic pot.
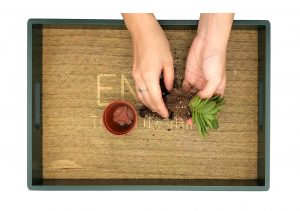
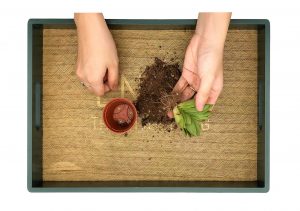
Step 3: Clear away old soil
Gently crumble away any clinging soil from your succulent’s roots.
Step 4:Trim
The root may be too long, you may want to trim it a little bit.

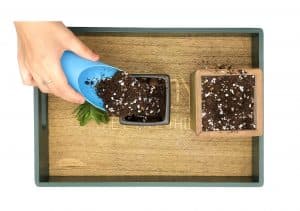
Step 5: Expanded Clay
Fill in 1 layer of expanded clay.
Step 6: Add soil
Add soil about 3/4 of the way up in your pot.
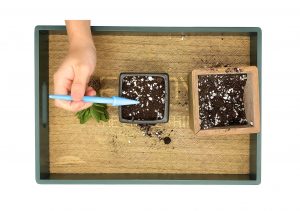
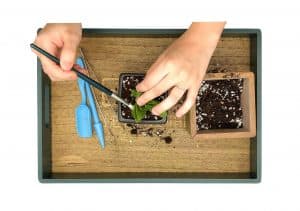
Step 7: Make a hole
Make a small hole on soil, to plant in succulent.
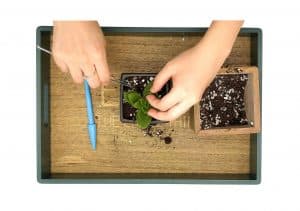
Step 8: Plant in succulent
Place the plant into the hole. It’s helpful to use a tweezers to plant in the succulent.
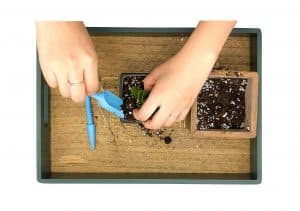
Step 9: Add more soil
Add more soil around the base of the plant until it sits straight up without you holding it.
Step 10: Clean up the plant
You may use a brush to clean up the extra soil on the plant.
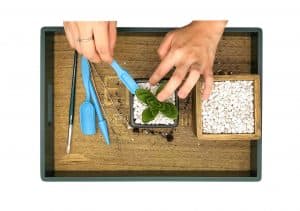
Step 11: Pebble
Add some pebble to cover the soil.
Step 12: Decorate your plant
You may put some accessories to decorate your plant.

Do not water the plant
Let your succulent & cactus get accustomed to its new home for 7 days before watering.